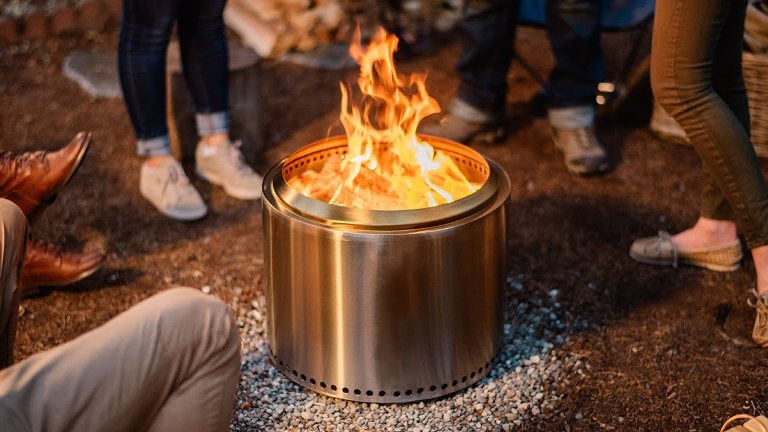
Bonfire pit. COURTESY
I have never been much of a camping person (I am more of a “glamping” person for sure). I have certainly done my fair share of it over the years, but I have to admit that I love my outdoorsy events best when I can still end up in a real bed after a shower at night. However, one of my favorite camping-related activities is a campfire. It’s warm, it’s cozy, and there’s usually some sort of yummy snack involved in the process. Last fall, we bought a mini portable fire pit for our backyard, and we liked it so much that we decided we wanted to build a proper fire pit so we could have fires more often. After doing some research, I was pleasantly surprised to find out that it’s really not that hard to build your own professional-looking fire pit. It’s a pretty easy process to plan out, and although it does take a bit of muscle to complete, it’s totally worth a bit of cardio. Ready to create your own backyard campfires (and get an arm workout in the process)?? Good, let’s get going!
Supplies
-Coloured spray paint for marking
-Gravel to fill your pit
-Shovel, mattock, or other digging tool -concrete landscaping stones and metal fire pit ring (optional). You can buy the stones by themselves or in a kit that comes with a metal ring.*
-Masonry adhesive
-Rubber mallet
Before you start your fire pit, you will want to check on the recreational fire codes for your area to make sure that a fire pit is allowed (you can call your local fire department if you aren’t sure). You want to build your pit at least 10 feet from any building structures, trees, fences, or other obstructions. Keep in mind also that you don’t want anything hanging above your fire pit, so even if a base of a tree is 10 feet away, you don’t want to have branches hanging directly above the fire pit. You can get your landscaping stones from your larger hardware stores, but make sure to also check smaller local hardware stores (and specifically stone and landscape businesses) to see what other types of stones are available. I got my stones at a local stone place because they had a large range of colours to choose from (and I like colour choices!). You can also either do two or three layers of stone, with or without the metal ring, it’s up to you and your budget.
OUTLINE YOUR FIRE PIT
Lay out the bottom ring of your stones in the grass where you want the fire pit to be. If you are going to use a metal ring, like we did, you can use that to build a few stones around to find your circle. Remove a few stones so you have space between them, and use the spray paint to mark where the outside of the stones would hit. Remove those remaining stones and complete your painted circle.
DIG YOUR FIRE PIT
Use a shovel, mattock, or whatever other digging tool you need to dig out your circle 6” deep. Depending on where you live, this will be an easier or more difficult task. Our Missouri grass has crazy strong roots and we have lots of giant rocks in the soil, so this was quite an arm workout for us!
FILL YOUR FIRE PIT
Once you have a 6” hole dug, you’ll want to pour your gravel into your hole until the gravel is level with the ground. The gravel will give your fire pit an important drainage area when it rains.
BUILD YOUR FIRE PIT
Place your first ring of stones around the edge of the gravel circle and use a rubber mallet to tamp the stones flat and even with each other. Again, if using a metal ring you can keep that in the middle to make sure you are fitting your stones right up against the ring.
When placing the second row of stones, place some masonry adhesive on the bottom of each stone and stagger the placement of the second row (the middle of each stone should sit on the end seams of the row beneath it). Use the rubber mallet to even and tighten the stone placement. Repeat the process with the third row. When you actually build a fire in your brand new pit, you’ll want to start with a smaller collection of newspaper, dry leaves, and sticks all piled up together. Once you light that starter pile you can start adding bigger branches and smaller logs, and then move to bigger pieces of wood as those catch on fire. After you’ve had several fires, you’ll want to scoop out (or use a shop vac to vacuum out) most of the ashes so they don’t build up too high and blow around like little pieces of white ash snow. It looks cool at first, but then it lands in your hair, and you’re like, “OK, not cool anymore …”


0 Comments